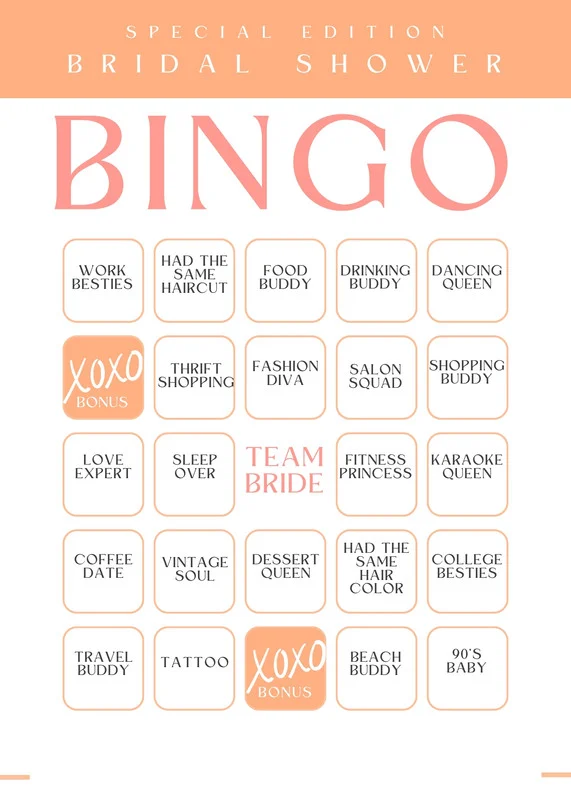
Bingo has evolved far beyond crowded community halls and traditional numbered balls. Today, it is one of the most versatile activities available for classrooms, family game nights, baby showers, corporate icebreakers, and holiday parties. Designing your own cards allows you to tailor every square to your exact audience, whether you are teaching vocabulary, celebrating a milestone, or hosting a themed trivia night. While you might occasionally look up digital tools or search terms like Bingokarten kostenlos erstellen when seeking quick inspiration, building your own cards from the ground up gives you complete creative control over the layout, rules, and visual style.
Creating a set of custom bingo cards does not require graphic design experience or expensive software. With a clear plan and a few simple formatting techniques, you can produce professional, engaging, and randomized cards ready for printing or digital play.
Planning Your Bingo Theme and Format
Before opening a blank document or grabbing a ruler, decide on the core structure of your game. A little planning ensures that the gameplay remains balanced and engaging for everyone involved.
Choosing the Right Grid Size
The standard American bingo card features a 5×5 grid with twenty-five squares, usually with a “Free Space” right in the center. This size works wonderfully for traditional number games, large groups, and longer sessions where you want plenty of variety. However, a 5×5 grid requires a large pool of prompts—typically at least thirty to forty unique items—to ensure that every player gets a different card.
If you are designing a game for younger children, a fast-paced party icebreaker, or a topic with limited vocabulary, a 3×3 or 4×4 grid is often a much better choice. A 3×3 grid needs only nine squares per card and can be completed in just a few minutes, keeping energy levels high and preventing frustration.
Brainstorming Your Square Content
Once you know your grid size, build a master list of words, phrases, numbers, or images. To prevent every player from getting bingo at the exact same time, your master list should contain significantly more items than the number of squares on a single card. For a 24-square card, aim for at least 35 to 50 distinct entries.
Keep the text inside each square concise. Short phrases of two to four words are much easier to scan quickly during gameplay than full sentences. If you are making an educational or themed game, mix easy, obvious prompts with a few challenging ones so the pace of the game stays exciting until the very end.
Step-by-Step Guide to Building Your Cards
You can create custom cards using almost any program already installed on your computer, including Microsoft Word, Google Docs, Excel, Google Sheets, or Canva. Follow these steps to assemble your layout cleanly.
Step 1: Set Up Your Page and Header
Open a blank document and set your page orientation to portrait. If you want to save paper, you can adjust your margins to half an inch on all sides, which allows you to fit two smaller cards onto a single standard sheet. At the top of your page, add a bold, readable title that matches your event or theme, such as “Road Trip Bingo” or “Book Club Night.” Leave a small gap beneath the title before starting your grid.
Step 2: Insert and Format the Grid
Navigate to the insert menu in your chosen program and add a table matching your chosen dimensions, such as five columns by five rows. If you are creating a classic 5-column layout, you may want to add a sixth row at the very top to hold the letters B, I, N, G, and O, or a five-letter word that fits your theme, like P-A-R-T-Y or B-R-I-D-E.
Highlight the entire table and adjust the row height and column width so that every cell forms an exact square. Uniform squares make the card look polished and give players plenty of room to place markers or stamp daubers. Center-align your text both horizontally and vertically inside every cell so words sit neatly in the middle of each box.
Step 3: Designate the Free Space
In a 5×5 grid, click on the exact center square—the third column, third row. Type “FREE” or “FREE SPACE” in bold letters, or insert a small icon, star, or theme-related graphic into that box. Shading the background of the center square with a light pastel color helps it stand out visually and reminds players that they get a head start on that row, column, and diagonal.
Step 4: Populate and Randomize the Squares
Fill in your first card by typing one item from your master list into each open square. Once your first template is complete, copy and paste the entire grid onto new pages to create enough cards for all your guests.
To ensure fair play, every card must have a unique arrangement. Go through each duplicated card and swap the positions of your words or numbers, making sure to rotate in the extra items from your master list that did not make it onto the first card. If you are using a spreadsheet program like Excel or Google Sheets, you can speed this up by listing your items in a column, assigning each a random number with the =RAND() formula, and sorting the list before copying each batch into a new grid.
Step 5: Add Visual Polish
Plain black-and-white grids work fine, but subtle styling elevates the experience. Choose a clean, legible sans-serif font for the square contents so players can read them at a glance, reserving decorative fonts strictly for the main title. Apply a thick outer border around the entire table while keeping the inner grid lines slightly thinner. Adding a soft color fill to the top header row ties the whole design together without using too much printer ink.
Tips for Printing and Hosting Your Game
Before printing thirty copies, print a single test page to check that none of the text gets cut off and that the borders align properly on the sheet. Printing on heavy cardstock rather than standard copy paper makes the cards much more durable, especially if players are sliding coins, candies, or plastic chips across the surface.
Finally, remember to print one extra master sheet containing every item from your list, cut the squares apart, and drop them into a bowl or hat. This gives you an instant, reliable calling deck so you can easily track which squares have been announced throughout the game. Even if you occasionally browse online resources for Bingokarten kostenlos erstellen to spark new layout ideas, having the ability to build, customize, and print your own cards from scratch guarantees you are always ready to host a memorable game anywhere.
About the Author